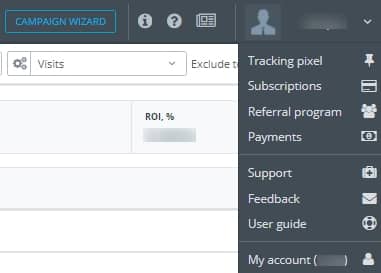
User menu can be found in the upper right corner of your account.
It contains the following buttons:
“Campaign wizard” stands for the quick campaign creation.
“Short guide” – opens a pop-up with the user’s manual in the account itself.
“FAQ” is a link to the section with frequently asked questions.
“Blog” is a link to the official AdsBridge blog, where you will find a large number of useful articles with guides, manuals, reviews, news, discounts and more (https://www.adsbridge.com/blog/).
In addition to that, there is a drop-down user menu, your profile photo, and name. When you hover on them, it will open the list with the following sections: “Tracking pixels”, “Finance”, “Referral program”, “Support”, “Feedback”, “User guide”, “My account”, “Log out”.
“Tracking pixels”
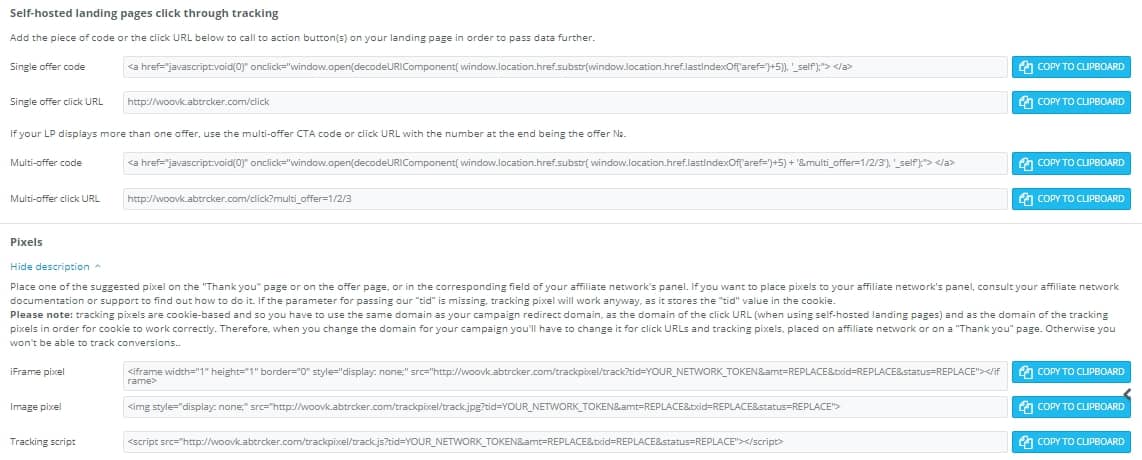
This page contains the essential information about S2S postback URL, click tracking options for your self-hosted landing pages, and tracking pixels.

S2S postback and secure S2S postback from this section are Postback templates that can be easily copied with the help of the “Copy” button, edited through the appropriate affiliate network settings and used on the side of the affiliate network. Also, the section contains such elements as a code for a one-offer landing page, Click URL, a code for a multi-offer landing page, a multi-offer Click URL, an iFrame pixel, Image pixel, JavaScript pixel provided by default.
If you use different domains in your campaigns, in order to learn the corresponding Click URL and pixel links, you can select a campaign from the drop-down list and generate Click URLs and tracking pixels for a given campaign.

If you want to display only basic information, you can hide the description and examples of using pixel tracking on this page with the help of the “Hide description” button.
Here are the basics of our postback and its parameters:
http://ххххх.adsbtrk.com/trackpixel/track?tid=YOUR_NETWORK_TOKEN&amt=REPLACE&txid=REPLACE&cdata=YOUR _CUSTOM_DATA&status=REPLACE
ххххх – your unique subdomain in our system.
adsbtrk – the AdsBridge system domain reserved for tests.
tid is meant to transfer the AdsBridge Click ID from the affiliate network back to the tracker. This is the only mandatory parameter in postback, without which the conversions will not be transmitted. In this parameter after the equal mark (=), you are supposed to insert the affiliate network macro instead of YOUR_NETWORK_TOKEN. The macro will be later replaced by the value that came in the parameter entered in the Token ID field during the offer set-up.
amt – transfers the dynamic value of the conversion payout.
txid is a setting applied to CPS offers only. It allows you to keep track of multiple conversions with a single Click ID.
status – transmits the conversion status.
cdata – with the correct settings, it passes any parameter directly to the traffic source, without saving and displaying it on the AdsBridge platform.
For the postback to operate properly, it’s necessary to replace the placeholders YOUR_NETWORK_TOKEN, REPLACE, YOUR _CUSTOM_DATA by the corresponding parameters of your affiliate network (you can learn them from the representatives of your affiliate network). As for the remaining part, which will not be used to send any information, you can delete it.
If you need to set tracking pixel for your own website on the “Thank you” page, then it’s possible to select one of the pixels of your preference (img, js, or iframe), and place it on your website. For example, let’s have a look at img tracking pixel:
<img style=”display: none;” src=”http://xxxxx.adsbtrk.com/trackpixel/track.jpg?tid=YOUR_NETWORK_TOKEN&amt=REPLACE&txid=REPLACE&status=REPLACE” />.
In order for the pixel to work properly, you need to place it on the “Thank you” page as follows:
<img style = “display: none;” src = “http://xxxxx.adsbtrk.com/trackpixel/track.jpg?”>.
If you want to keep track of multiple conversions on your own website with a single user Click ID (for example, subscription + purchase), then enable the CPS option in the offer options (in this case, the website URL will serve as an offer) and place the following pixels on the “Thank you” page:
- after the subscription – <img style = “display: none;” src = “http://xxxxx.adsbtrk.com/trackpixel/track.jpg?txid=subscription“>,
- after the purchase – <img style = “display: none;” src = “http://xxxxx.adsbtrk.com/trackpixel/track.jpg?txid=sale“>.
Subsequently, in the column for the transaction ID in the AdsBridge’s “Conversion Report”, you will see the value of “subscription” in case of a subscription and “sale” in case of a purchase.
If you want to keep track of the conversion statuses on your own website and have the option to add an automatic or manual substitution of certain values to the tracking pixel, you can also set it up on AdsBridge. To do this, you need to create an affiliate network with the active “Conversion statuses” option, specify the conversion status that will be considered as confirmed, (for example, “approved”) and use, say, such pixel tracking formats as:
- <img style=”display: none;” src=”http://xxxxx.adsbtrk.com/trackpixel/track.jpg?status=new“> for a new conversion;
- <img style=”display: none;” src=”http://xxxxx.adsbtrk.com/trackpixel/track.jpg?status=canceled“> for a canceled conversion;
- <img style=”display: none;” src=”http://xxxxx.adsbtrk.com/trackpixel/track.jpg?status=approved“> for an approved conversion.
With this setup, all the conversion statuses will be displayed in the “Status” column within the “Conversion report” (provided that the Status checkbox is selected). Besides, the “General report” will display only approved conversions.
“Subscriptions”
Here you can view information about your current pricing plan, change it if desired, see unpaid invoices and view payment history. The section is divided into 4 tabs: “My pricing plan”, “Change pricing plan”, “Unpaid invoices”, “Purchase history”.
“My pricing plan” tab displays the detailed information on your pricing plan. In the “Basic” block you will see the exact date your pricing plan expires, the number of used visits, the visits limit, the number of visits exceeding the limit, the price for overspending and the total cost of overspending.
The nearby block shows the difference between your actual pricing plan and the advanced one. You can also change over to pricing plan selection page by means of the “Change pricing plan” button. The “Visits” graph shows your traffic dynamics on a daily basis.
“Change pricing plan” tab contains a set of benefits available for each of the pricing plans, and you can determine which of them suits you the most, and then switch over to the payment page.
Please note that:
1) There are monthly and yearly pricing plans.
2) AdsBridge accepts the following payment methods: PayPal and credit card (via admin panel), WebMoney (direct payment). In order to learn how to pay through WebMoney, please contact our support team: support@adsbridge.com.
3) When paying for a subscription, your card will be charged automatically every month (year) depending on your pricing plan.
4) Pricing plan changes and subscription termination can be undertaken only after you contact our customer support: support@adsbridge.com.
If you want to apply the actual promotional code to any of the pricing plans, complete the following steps:
Step 1: Click the link “Use promo code”.
Step 2: Enter the promo code.
“Unpaid invoices” tab showcases all invoices generated by our system. They include:
- Invoices for a new pricing plan (when switching to another subscription). In case you have mistakenly chosen pricing plan that you would not like to purchase, the invoice for an incorrect pricing plan will be automatically deleted after 30 days.
- Invoices for the overrun of visits at the actual pricing plan. Please note that the invoices for overspending must be paid out within 10 days. Otherwise, your subscription will be discontinued, and traffic will be blocked. After you submit your payment, all the pricing plan features will be re-enabled. In case you have an unpaid overrun on your current pricing plan, you may still switch to another subscription, but make sure the overspending is paid out within 10 days. If the 10-day timeline has passed, and you have not made any payments yet, the account will be blocked.
“Purchase history” tab contains all the invoices you paid (e.g., domains, purchased through the AdsBridge account, pricing plans, and overrun of visits), the date of payment, and the type of payment. You can also download any of the invoices to your computer if needed.
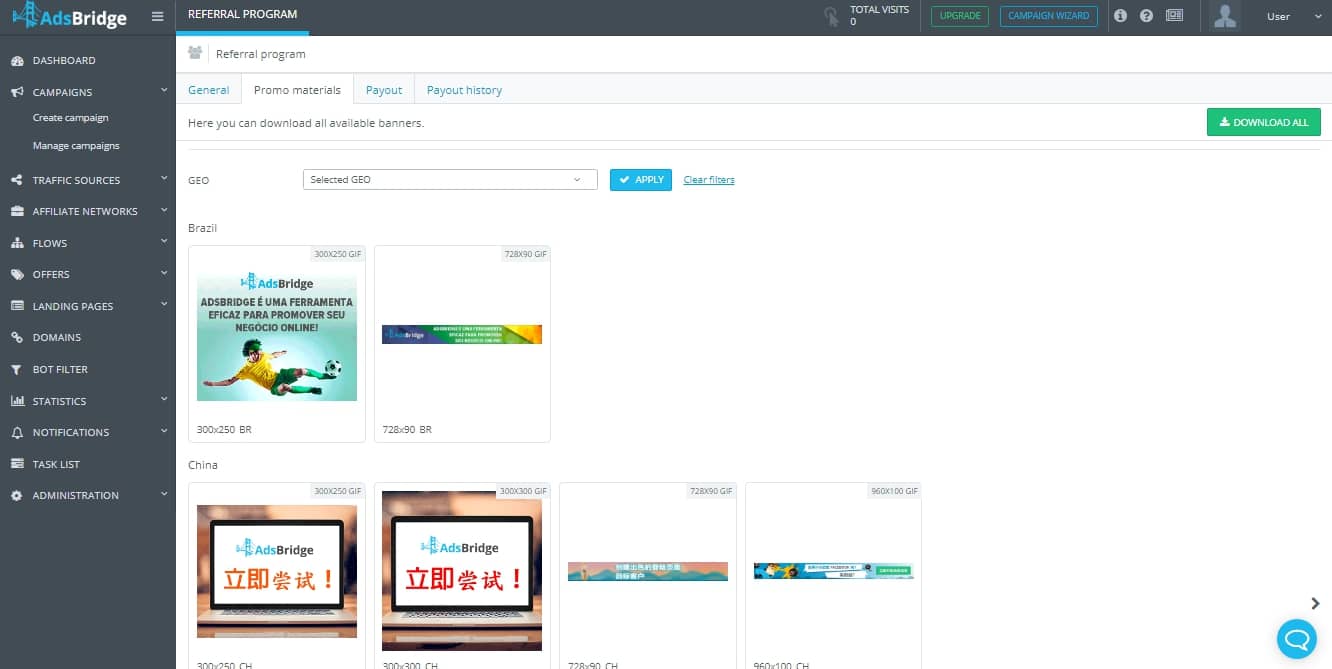
“Referral program”
Here you can learn more about the conditions of the referral program, as well as get the necessary information and useful materials. This section consists of tabs “General”, “Promo materials”, “Payout” and “Payout history”.
“General” tab. Here you will find the generated links for referral acquisition (which lead to the sign-up page and to adsbridge.com).
In addition to that, this tab contains the statistics on your referrals – their ID in the system, the date of purchase, the pricing plan, and the profit you receive for a referral.
Please note that in case you attracted a user who subsequently paid for their subscription by a card that does not belong to them, or in case of another refund reason, the commission for such a transaction will not be included in the amount of the referral program payout.
“Promo materials” tab. Here you can download a ready-made set of banners and use them in your referral program.
“Payout” tab shows the total balance and the amount available for withdrawal. Here you can also leave a payout request to your PayPal e-wallet. Please note that the minimum withdrawal amount is $100.

“Payout history” tab displays a list of all payouts made in AdsBridge. Here you can see the date, payout amount, PayPal account to which the payout was made, the payout status and the residual balance in the AdsBridge system after the payout.
For more information on the referral program, check this link.
If you have any questions, please contact our customer support team: support@adsbridge.com
“Payments”
In this section, you can check the information about income, which you have obtained using the feature “Traffic Monetization”, your current balance in real time and withdraw money to your account.
“Payments” section contains three tabs: “Payment methods”, “Request payment”, “Payment history”.
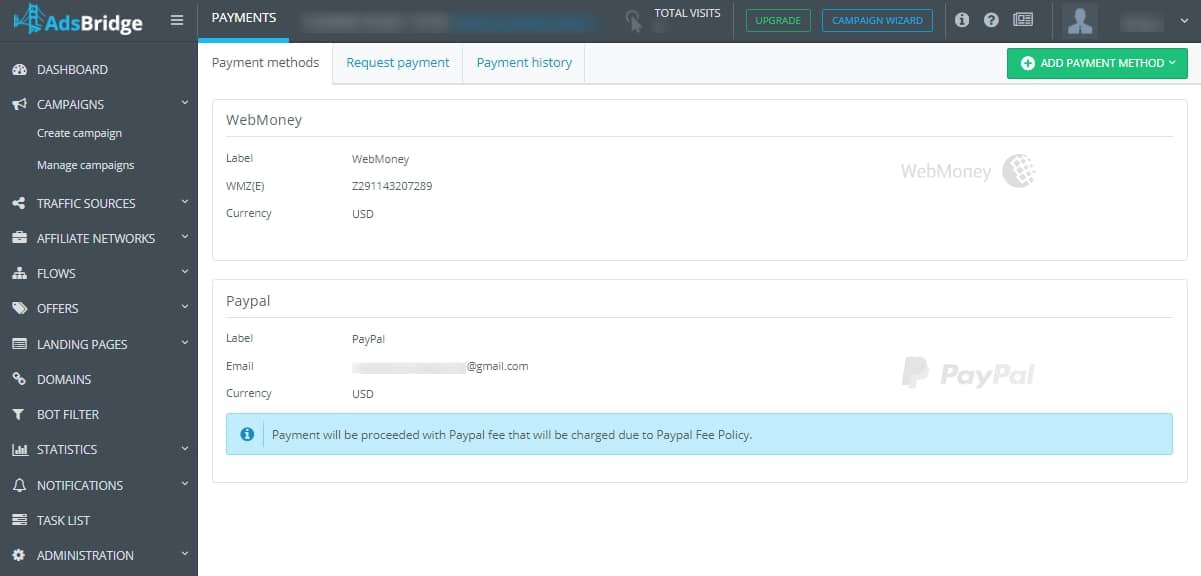
You can create payment methods to withdraw money on the tab “Payment methods”. PayPal, WebMoney, Epayments or bank transfer are available.
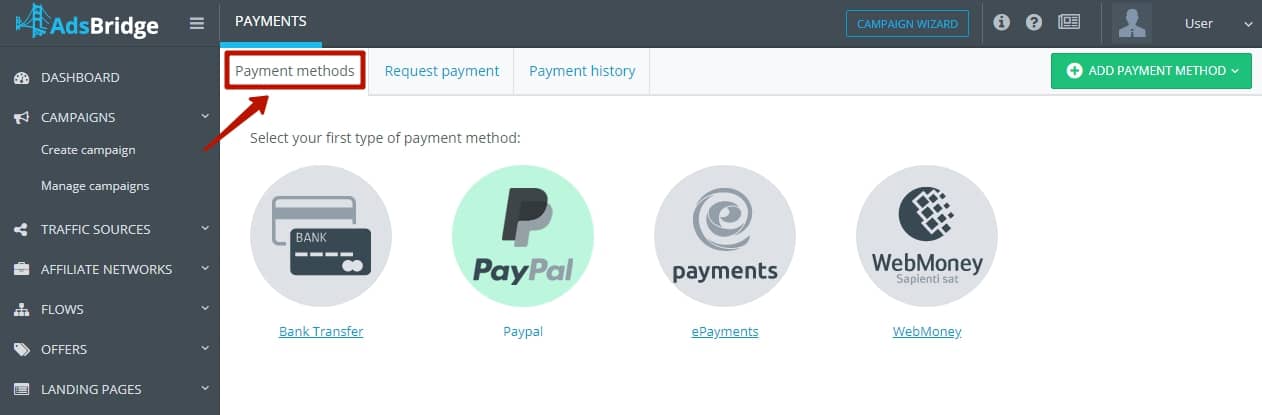
Choose the most convenient for you and enter the necessary data. The number of created payment methods is unlimited.
You can generate the request to withdraw money, check the current balance and income for certain periods on the tab “Request payment”.
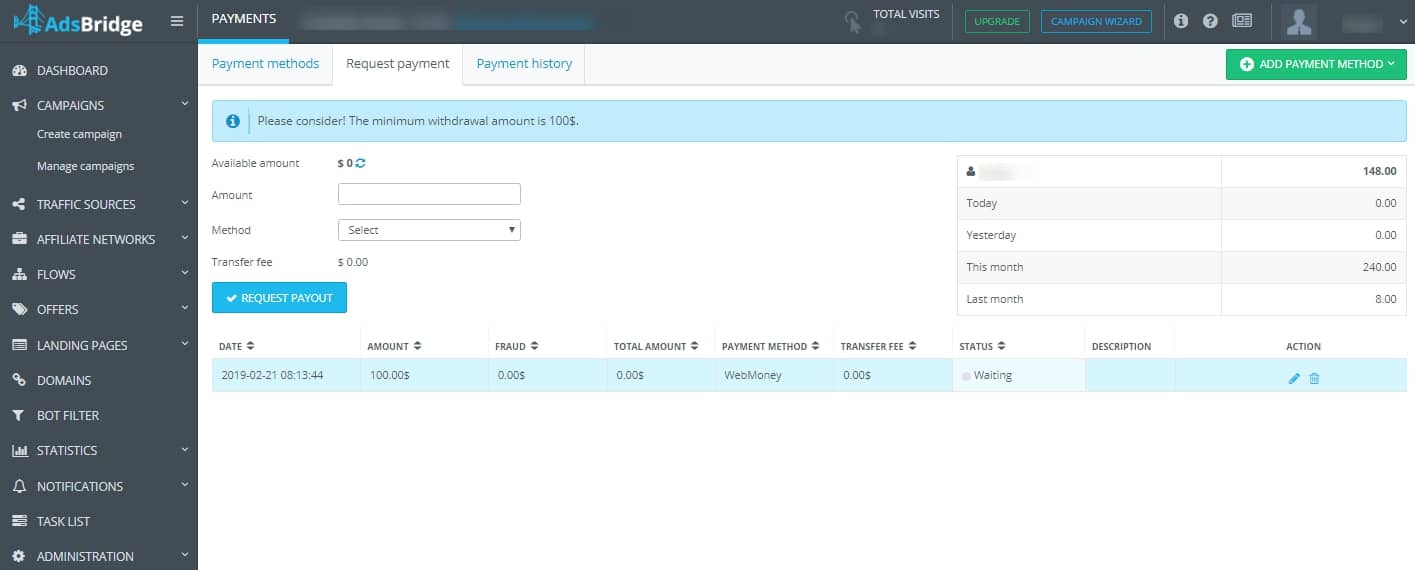
To withdraw money you should fill in the following fields:
“Available amount” – it is an amount of money you can withdraw to your personal account.
“Amount” – fill in with the amount of money you would like to withdraw.
“Method” – in this field, choose from the dropdown list the payment method you have created before on the first tab, which will be used for withdrawal of money.
“Transfer free” – depending on your payment system an additional commission for cash transfer can be charged. In this case, it will be displayed in this field and deducted from the amount of withdrawal.
Click the button “Request payout” after you fill in the fields. Your request will be displayed in the table below. Note! The minimum amount of withdrawal is 100$.
Status “Accepted” means that your request has been processed and you get the money on your account soon. After a successfull transaction, the request will be displayed in the tab “Payment history”.
In the right table, your current status and income for different periods are displayed.
On the “Payment history” tab you may check all payments made in AdsBridge.

You are able to download invoice regarding each request. Go to “Actions” tab to download result.
Note, there is no any payment for fraud traffic. In case there will be noticed any fraud conversions during the check in of your withdrawal request, the payment amount will be recounted without fraud conversions. You will receive final detailed report afterwards. Go to “Actions” tab to download detailed report.
Information available in the table is mentioned below:
“Sum” – requested withdrawal amount
“Fraud” – amount for fraud traffic, which will be excluded from total sum.
“Total amount” – total sum to withdraw without fraud traffic amount. In case there won’t be defined any fraud traffic, then total amount will be equal the requested sum.
Note, if your “total amount” is less than 100$, then you’re not able to withdraw money. In the “Describtion” tab you will see the detailed explanation of unprocessed withdrawal.
In case of any fraud traffic, there will be detailed report in the “Actions” tab.
“Support” opens the support chat window.
“Feedback” opens a feedback field in your account.
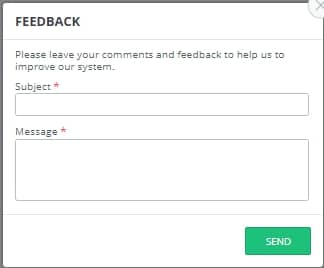
Leave us a feedback about AdsBridge and suggestions on what functionality you think we need to add or optimize. We improve our platform on a day-to-day basis to provide you with the best service, and always take into account all the wishes of users.
“User guide” is a link to this manual.
“My account” – using this page, you can view and edit your personal data.
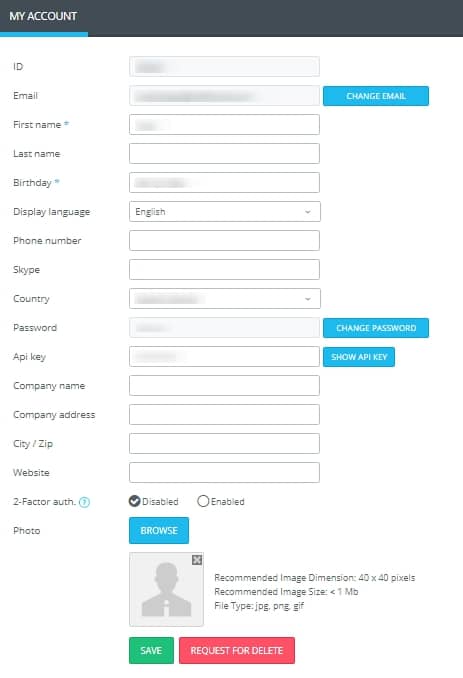
To change the Name, Last Name, ID, Phone Number, Skype, Company Name, Company Address, City / Zip, Website, just enter the data in the corresponding field.
Choose available “Russian or English“ options from the dropdown list to change the language of the interface.
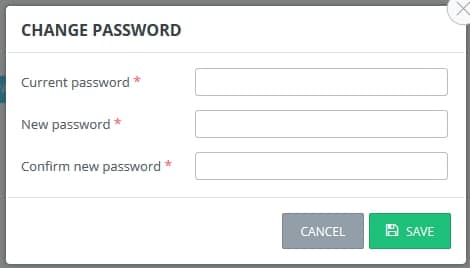
To change the Country, select the necessary one from the drop-down list. To change the Password, click the “Change Password” button and enter a new one.
To change the Main email account, click the “Change email” button.
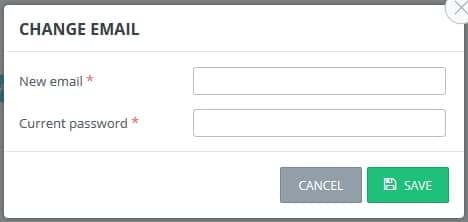
In the appeared window, enter a new email address and confirm it with a password from the account login. An email with the essential data to confirm the new email address will be sent to the newly provided email address. To confirm the change, click the link in the email.
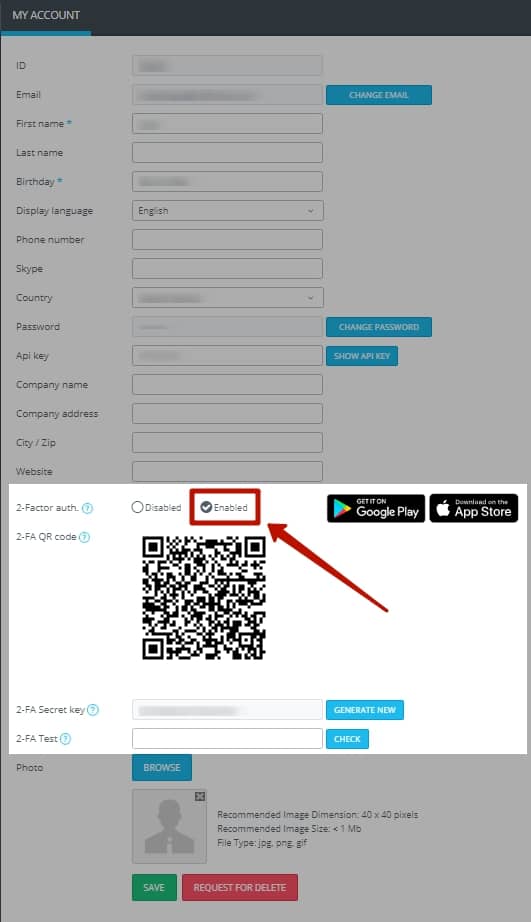
2-Factor authentication strengthens the security of your account. After it is you need to enter a security code every time you log in. Please note, to use 2-Factor authentication you should install an app on your mobile phone.
You can upload a profile photo. To do this, click “Browse”, then select the file from your computer and click “Open”. The image of your profile will change after you save the changes.
Please note that the fields marked with “*” are obligatory. Fields marked in gray (except the Password and Email fields) cannot be edited in the account. Currently, this field is your ID in the system. To save the changes, click “Save”. Your data will be changed.
“Logout” – lets you log out of the system.