This page enables you to create a traffic source, or select a traffic source from the template list. Let’s have a look at the basic elements.
“Choose from templates” – this feature allows you to add popular traffic sources. After you click on the button, you will be shown a pop-up, where it’s possible to select one of the traffic source templates and view its parameters. Tick the box next to the name in order to view a list of all the parameters of this traffic source, and then click “Apply”.

Traffic sources

“Traffic source name” is a required field. Here you are supposed to specify the name of the traffic source, so it will be easier for you to find it in the system and view the statistics on it the following. In case you choose a pre-set traffic source from the template list, this field will be automatically completed. You cannot use the same traffic source name twice. Also, it’s not possible to save a traffic source with a name that already exists in the traffic source template list. We recommend using the suggested templates, as their configuration has been tested and is correct. If you do not use the traffic source but place the Campaign URL on your own resources, you can create a traffic source with the name of your resource. Thus, you can view statistics on this site in the statistics section within the “Traffic sources” tab,
as well as use the “Track impressions” option if necessary and you have the ability to keep track of banner impressions.
“Track impressions” is not an obligatory setting. However, with its help, you can enable tracking of banner impression and use the CPM cost model (cost per mille or one thousand of impressions) to calculate the costs on the tracker’s side as accurately as possible. In order to set up the tracking of impressions, you need to select this checkbox. If you choose the appropriate traffic source in the drop-down list at the first step of campaign creation, a link will appear at the bottom of the screen below the campaign link. You are supposed to add this link to the Image, JavaScript or iFrame pixel, and place this pixel on your banner to count the impressions.
Unfortunately, not all traffic sources provide the ability to place such a pixel. You can contact the manager of your traffic source and ask them to help you install it. Please note that the URL for tracking impressions is the system one and it does not redirect to anywhere. Its primary use is to track impressions.
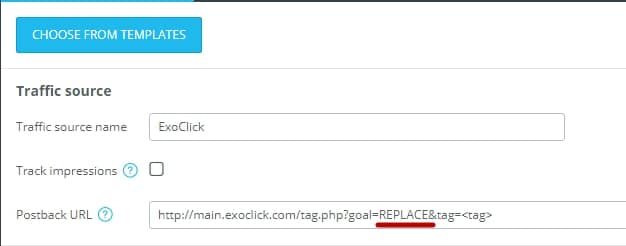
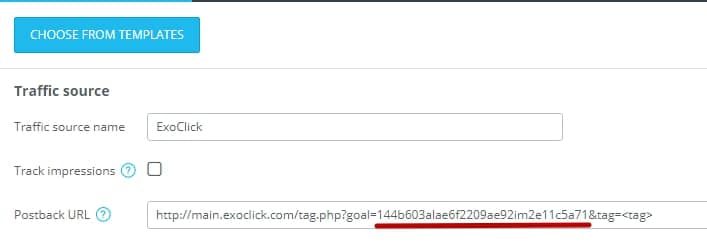
“S2S postback URL” is not a required setting. Just fill in this field with the postback URL of your traffic source. This feature is used in case you need to transmit conversions and any other information from the tracker to the traffic source or to the affiliate platform tracker. If there’s no need to transmit such information to the traffic source, then you don’t have to set up the postback. In case you use the pre-set traffic source templates, please pay attention to a postback URL. If it contains such placeholders as REPLACE, then they need to be replaced with the correct ID value, which you can learn from the side of the traffic source. Contact the manager of your traffic source to get the correct postback link.
Please note that not all traffic sources have S2S postback. In this case, you cannot transfer data about conversions to its side. AdsBridge can send a conversion to the traffic source’s side only through S2S postback. Other options, for instance, Facebook pixel, will not work out.
In case you need the postback URL to take the AdsBridge parameters that will send additional information to the side of the traffic source, please note that the addition of parameters in such format as <parameter1><parameter2><parameter3> is not always correct, and that’s why the postback URL with such parameters might not work out. You need to utilize the postback URL format that will enable a traffic source to take additional values. As a common practice, the postback URL should contain the name of a parameter, in which a traffic source can take the required value. It’s also necessary to add the AdsBridge parameter in the following format: parameter1 = <parameter1> & parameter2 = <parameter2>, etc. (However, the link formats may differ, for instance, some traffic sources may receive parameters through front slash (/), comma (,), colon (:) and other marks.) Make sure to clarify the postback format and parameters on the side of the traffic source. Postback format and parameters should be specified on the side of the traffic source.
The list of Tokens available for addition to postback:

<payout> – payout for a conversion. Please note that in this case the payout currency will be transmitted in $ (USD), as this currency is used by default.
<tid> – value of tracker’s Click ID;
<txid> – value of transaction ID;
<tracking_id> – parameter that is used to transmit the Click ID of a traffic source to the side of the mentioned traffic source through a postback;
<cost> – costs value;
<campaign_id> – campaign ID in the AdsBridge system;
<trafficsource_id> – traffic source ID in the AdsBridge system;
<trafficsource_name> – name of the traffic source in the AdsBridge system;
<lp_id> – landing page ID in the AdsBridge system;
<offer_id> – offer ID in the AdsBridge system;
<country> – country;
<language> – language;
<city> – city;
<traffic_type> – type of traffic;
<connection_type> – type of connection;
<device> – device;
<manufacturer> – manufacturer;
<model> – model;
<browser> – browser;
<browserversion> – version of browser;
<os> – operation system;
<osversion> – operation system version;
<isp> – ISP;
<carrier> – mobile network operator;
<useragent> – user agent;
<ip> – IP;
<referrer_domain> – referrer domain;
<current_date> – today’s date;
<day_of_week> – the actual day of the week;
<timestamp> – current time;
<token1>…<token6> – values that are transmitted through the primary campaign tokens;
<cdata>,<cdata2> etc. – values that are transmitted from the side of affiliate network by means of CDATA parameters of the AdsBridge postback.
Advanced settings
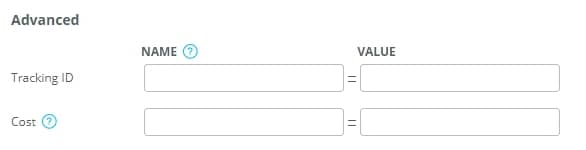
“Tracking ID” – this is a required field in case you need to set up the S2S postback of a traffic source. Its process of setup does not impact the tracking on the side of our platform; however, if you need to transmit conversions to a source, then this parameter is the key. Tracking ID consists of a Name (a parameter that will be displayed in the link) and Values (stands for the traffic source macro that is used to transmit a unique Click ID), which you can clarify with the representative of your traffic source.
“Cost” is an optional field. You can configure it in case you’re willing to track down information about costs and other calculations on AdsBridge. This field is uniquely reserved for a parameter of your traffic source that transmits the dynamic cost value. Please note that not all traffic sources have this parameter. In this case, you can set the static cost value at the first step of campaign creation. You can also pre-set both the parameter to convey the dynamic cost value in the traffic source settings and the static value in the campaign settings. If the dynamic value differs from the previously specified static value, the dynamic value will be selected to calculate the statistics as the most correct one. This feature is available for such cost models as CPV and CPM (in case of CPM, the link should transmit the cost per 1000 impressions, as this value will be divided by 1000 and assigned to each impression).
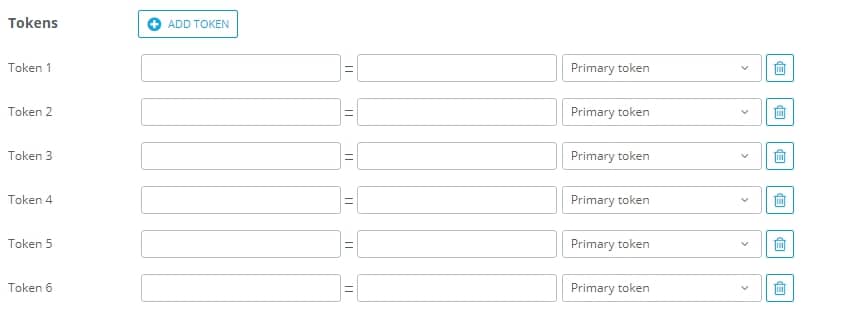
Token
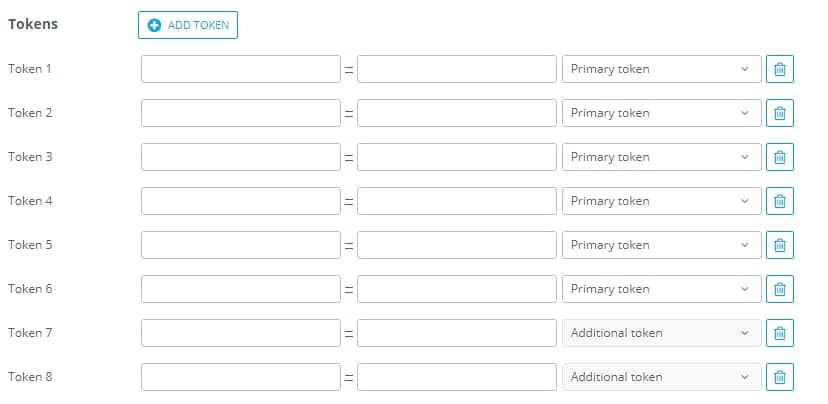
“Token” — is a set of certain parameters that can be added to your Campaign link in order to transmit additional traffic-related information from the side of the traffic source to the AdsBridge statistics, and/or to the affiliate network (target site).
You can specify the parameters with the representative of your traffic source or learn it from their manuals. Also, such Tokens are indispensable in terms of creating a unique Campaign URL.
They can be adjusted in 2 steps:
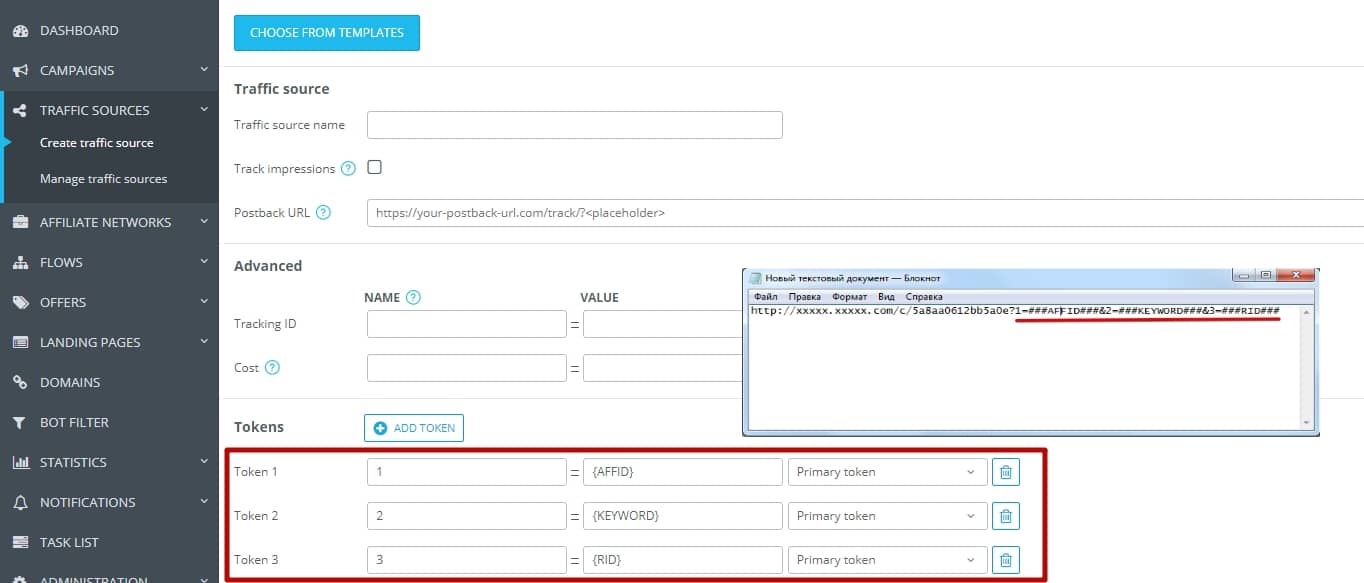
– Specify a name. With this name, the Token will be added to your campaign link, so you can choose the name yourself.
– Specify the Token value. In case of a static value (for example, you’ve got the <banner> parameter, through which you will always get the value 1), you need to enter this specific value in the “Value” field. In case of a dynamic value (which can change with every single clickthrough of your campaign link), fill in the “Value” field with the macro of the traffic source (which is supposed to take different values each time the link is clicked upon). A list of macros is available within your traffic source documentation, or you can check it with the account manager of your traffic source.
Let’s consider these two cases separately:
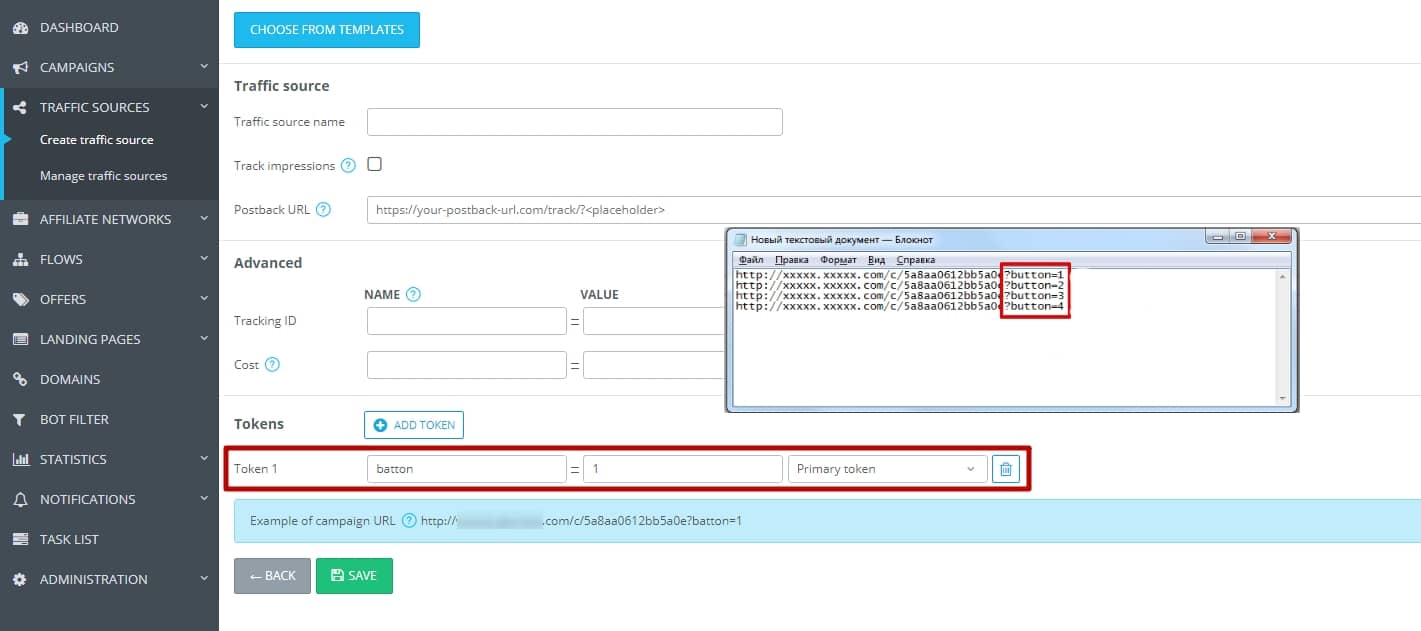
1) Static Value of Token: you’ve got an email with 4 buttons and want to track which of them had the most transitions. To do this, you need to add such Token as button=1 (here’s the example of you campaign link after such a configuration is applied – http://xxxxx.xxxxx.com/c/111111111?button=1).
By inserting the campaign link into Button 1, you provide the campaign link in this form: http://xxxxx.xxxxxx.com/c/xxxxxx?button=1. The procedure for three remaining is the same, except for the button value.
Thus, for Button 2 the link will look like http://xxxxx.xxxxx.com/c/111111111?button=2, for Button 3 – http://xxxxx.xxxxx.com/c/111111111?button=3, and for Button 4 it will be http://xxxxx.xxxxx.com/c/111111111?button=4, respectively.
When a user clicks on Button 1, you will see the value “1” in the Token column within the AdsBridge stats, and so on.
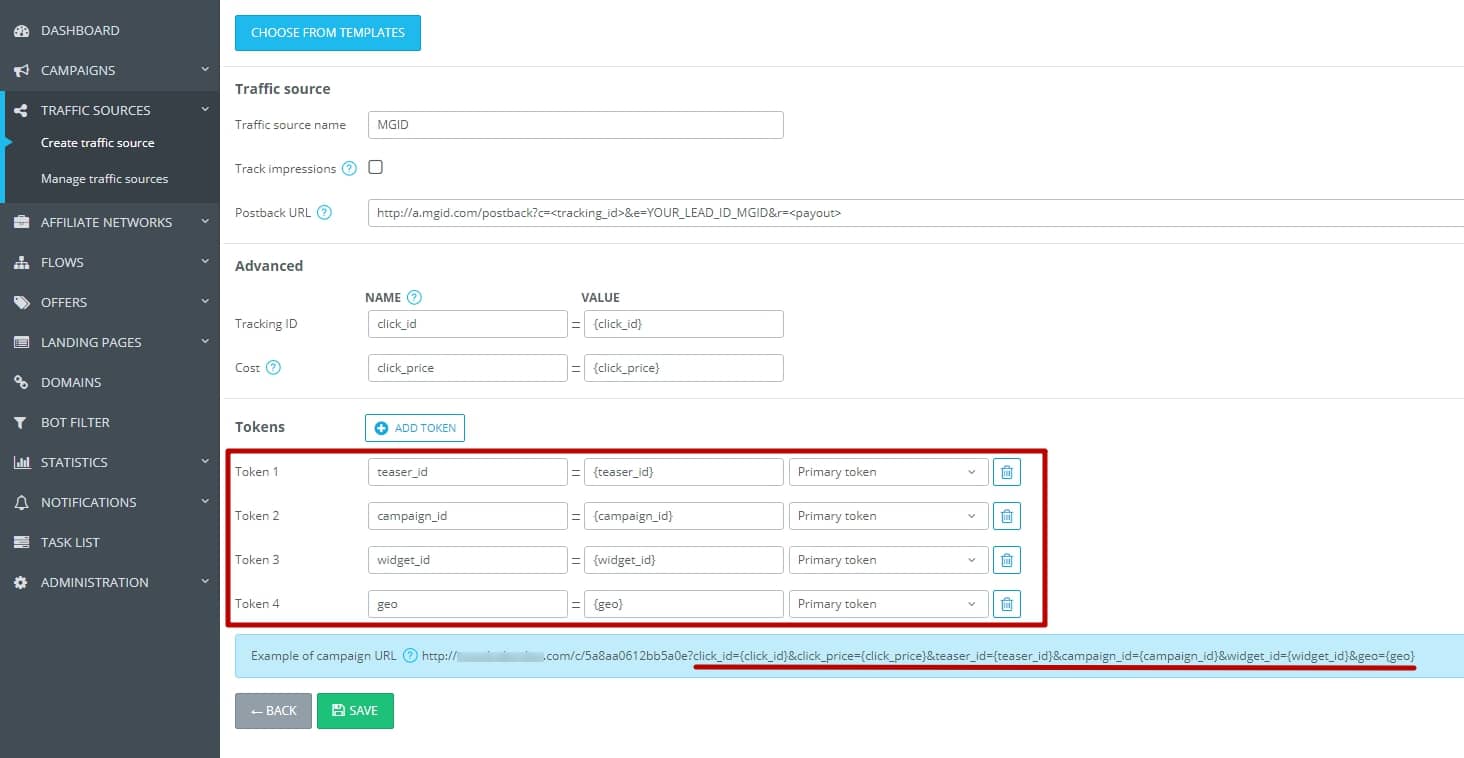
2) Dynamic Value of Token: you buy traffic from a given source (ad network) and want this traffic source to give you information about which site came the user who clicked on your banner. To do so, you are supposed to input the following Token: site= macro of the traffic source, for example, [site_id], and after that, when adding this traffic source at the first step of campaign creation, your Campaign URL will look like the following: http://xxxxx.xxxxx.com/c/111111111?site=[site_id]. Therefore, you will see such values site1, site2, site3… siteN for each visit in the Token column (in which you have provided the value of site=[site_id]) within the AdsBridge stats.
Please note that our system contains Primary and Additional Tokens. As for the Primary ones, their number does not exceed 6, and they will be displayed in our tracker’s statistics section. Additional Tokens will not be stored in the stats; yet still, they can be passed to your affiliate network, where you will be able to preview their values . Primary Tokens must be written only in the first 6 lines.
The number of characters that AdsBridge can accept and display in Token1 – Token 6: 255.
Currently, when setting up the Tokens, such characters as #, %, & cannot be used for macros. If your traffic source’s parameters contain these characters, in this case, do the following:
1) Substitute the Token values with characters that AdsBridge can identify, for example, {sub_id_name} instead of # sub_id_name #.
2) Next, add the traffic source to the campaign and copy the Campaign URL somewhere else for editing.
3) Replace all “{” and “}” with “#” on both sides, as required by the traffic source.
“Example of campaign URL” is not the final link of the campaign. The final campaign URL is displayed in the “Create campaign” / “Manage campaigns” subsections. As you add the Tokens in your traffic source settings, you can observe the way the example of your campaign URL changes. You can also view the campaign URL appearance after you add this traffic source to it.