Hello everyone!
At the beginning of 2021, the marketing world first encountered the new iOS14.5 security policy rules, after which Facebook’s rules for verifying and promoting security measures began to change as well. Today we’re going to talk about the Facebook Conversion API (CAPI) setup, which replaced Facebook Pixel.
What are the benefits of the Facebook CAPI?
- Complementary to the Facebook Pixel
- Can duplicate events in Pixel when Facebook has event deduplication
- Works for online and offline conversions
- Great for affiliates who don’t have access to the thank you page via pixel
- Can send the right data to Facebook
Let’s move on to setting up the Facebook CAPI
- The first and important step is domain verification. You can read more about setting up domain verification on Facebook in our previous article.
- Next, go to Facebook Event Manager, copy and save the Pixel ID, we will need it later. Then, go to the Conversions API section, at the bottom of the Event Manager page, click on “Generate Access Token” and save it along with the Pixel ID.
Now let’s proceed directly to setting up Facebook on the AdsBridge side
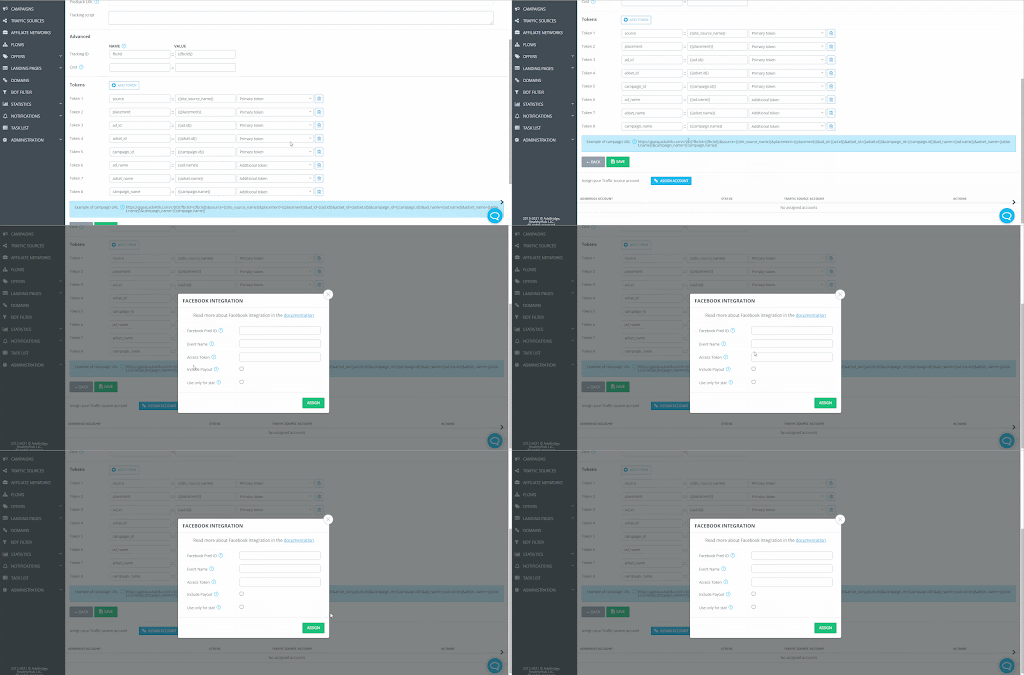
Step 1. Add Facebook as a source of traffic. For your convenience, we have added Facebook to the template, which will speed up the setup process a lot.
Traffic Sources – Create traffic source – Choose from templates

Step 2. After you save the settings, there will be an additional field for assign accounts. These must be filled in with the data you saved from Facebook Event Manager.

Facebook Pixel ID – Your Facebook Pixel ID created in Event Manager to track leads
Event Name – Standard Event or Custom Event name, for example, PURCHASE
Access Token – Conversions API Access Token generated via Event Manager for Pixel
Include Payout – check this box if you want to send the payout with conversions to Facebook
Use only for stat – check this box if you only want to track statistics without passing conversions
Step 3. Add affiliate network (if necessary);
Step 4. Add an Offer, i.e. an affiliate link;
Step 5. Create a Campaign and place the campaign link on the traffic source.
There are 2 options for setting up the campaign here:
- You can create LP in AdsBridge’s visual or HTML editor and add it to the campaign. In this case, you will have no redirect when clicking on the campaign link.
- You can create a campaign in AdsBridge with the “Without redirect” type. To do this, you must have a landing page on your own hosting or a page to which you have access to the code. If this is available, you can proceed.
In this case, use the following instructions for setting up this type of campaign https://www.adsbridge.com/new-feature-tracking-without-redirects/.
After configuring all the settings above, you will be able to not only track visits, clicks and conversions, but more importantly, transmit conversions and payments (if desired) to the Facebook side.
Please note. The function is available only by request. To get access, you need to contact the Support manager
We hope this article was useful for you and that it helped you to pass the verification. If you have any questions, please contact support@adsbridge.com. Always glad to help!
